
Guide · Kitchen
Water-bath vs. pressure canning: which foods need which
A plain-language guide to acid and low-acid foods, why green beans need a pressure canner and jam doesn't, and the methods USDA and NCHFP say to skip.
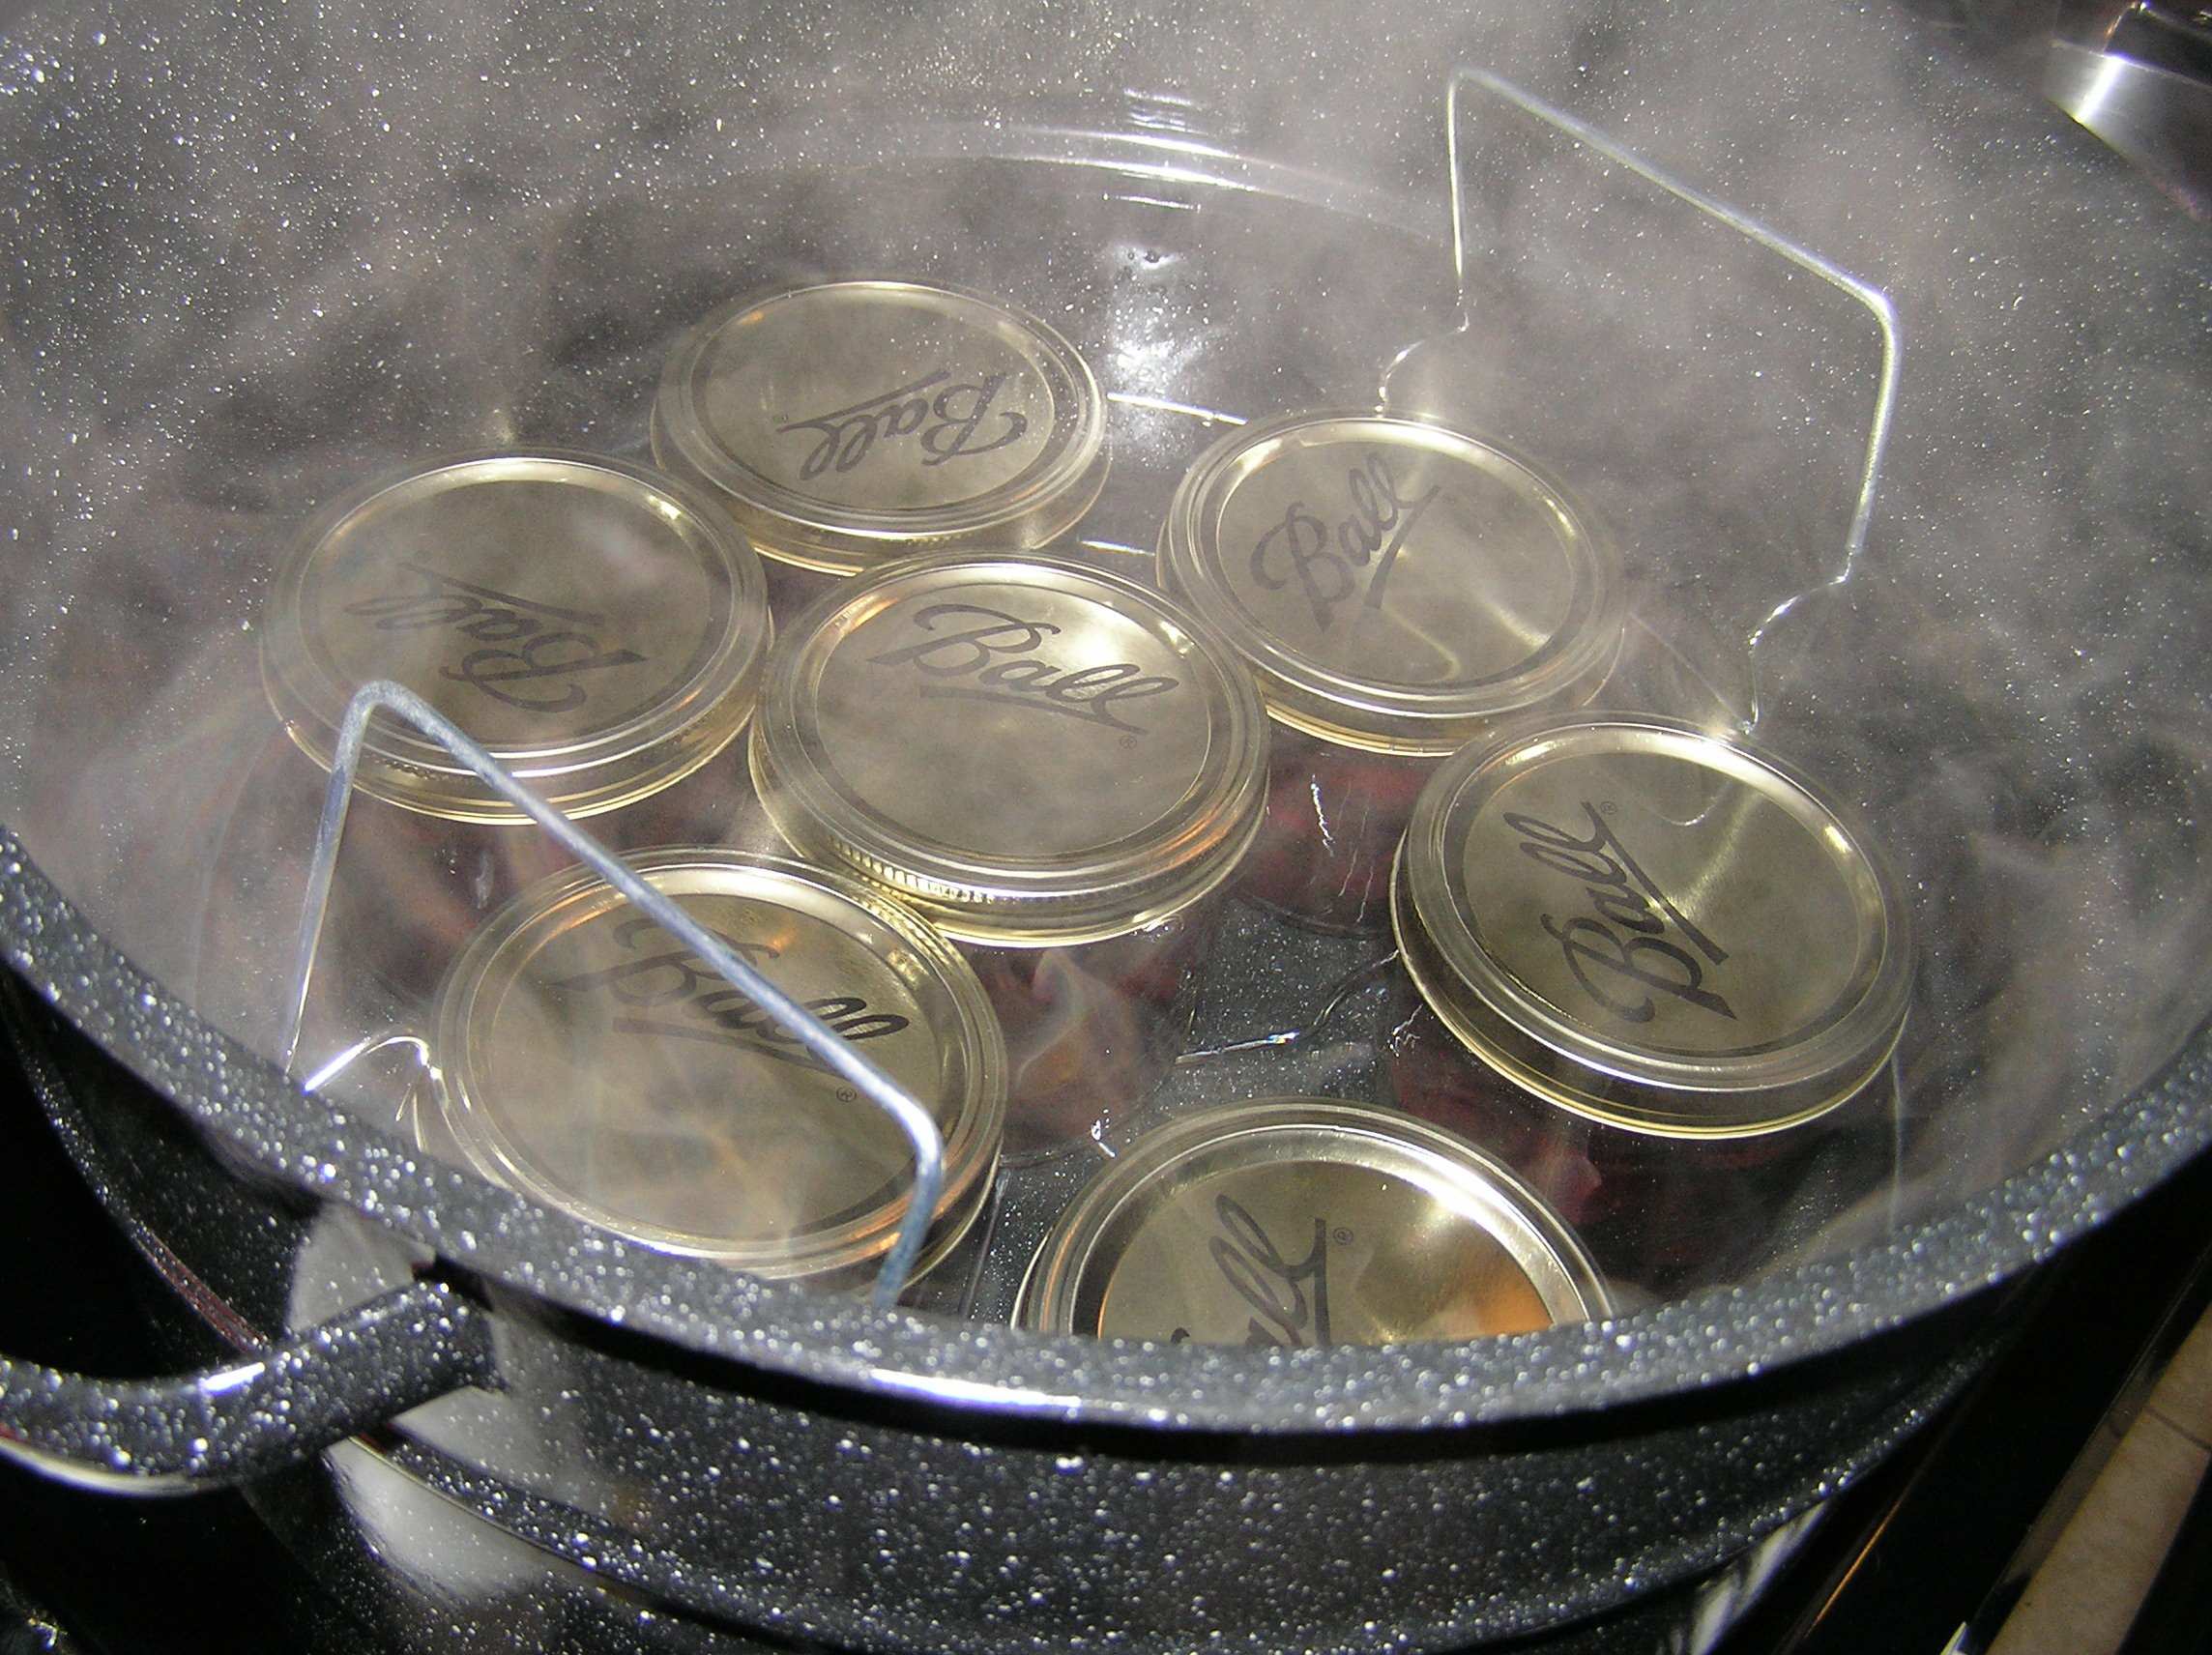
Photo: Ryan Snyder, CC BY 2.0

A researched guide. It summarizes guidance from the USDA, the National Center for Home Food Preservation (NCHFP) and the CDC, listed at the end. It isn’t a recipe. Always follow a current, tested recipe for the exact food, jar size and method you’re using.
If you put up food, sooner or later you’ll hear two opinions: that a big pot of boiling water is all anyone ever needed, or that you need a pressure canner for everything. Neither is quite right. Which method a food needs comes down to one thing: how acidic the food is.
The short answer
- Acid foods (pH 4.6 or lower) can be safely processed in a boiling-water canner: fruits, jams, jellies, marmalades, fruit butters, pickles and sauerkraut, plus tomatoes and figs when acid is added as the recipe directs.
- Low-acid foods (pH above 4.6) must be processed in a pressure canner: all fresh vegetables (except most tomatoes), red meats, poultry, seafood and milk, plus most mixtures of low-acid and acid foods unless a tested recipe adds enough lemon juice, citric acid or vinegar.
That’s the line the NCHFP and the USDA Complete Guide to Home Canning draw. The reason behind it is a single bacterium.
Why acidity decides it: botulism
Clostridium botulinum lives in soil and forms spores that survive ordinary cooking. Sealed in a jar with low acid, little oxygen and room-temperature storage, surviving spores can grow and produce the toxin that causes botulism, a rare but serious illness.
Acid blocks that growth. In acid foods, the heat of boiling water (212°F at sea level) is enough to destroy the molds, yeasts and bacteria that matter, and the acidity keeps any surviving botulinum spores from growing.
In low-acid foods, there’s nothing holding the spores back, so they have to be destroyed by heat, and that takes more heat than boiling water can deliver. The NCHFP explains that low-acid foods should be processed at 240°F to 250°F, which a pressure canner reaches at 10 to 15 pounds of pressure. At those temperatures, processing takes 20 to 100 minutes depending on the food and jar. To get the same effect in boiling water would take an impractical 7 to 11 hours.
The CDC is blunt about the stakes: low-acid foods are the most common source of botulism linked to home canning, and home-canned vegetables are the most common cause of botulism outbreaks in the United States.
Which foods need which method
| Food | Method | Notes |
|---|---|---|
| Jams, jellies, fruit butters | Boiling water | Use a tested recipe; sugar and pectin levels matter |
| Most fruits (peaches, pears, berries, apples) | Boiling water | |
| Pickles, relishes, sauerkraut | Boiling water | Acid comes from vinegar or fermentation; don’t cut it |
| Tomatoes, tomato sauce, salsa | Boiling water or pressure | Add lemon juice or citric acid as the recipe says |
| Figs | Boiling water | Must be acidified first |
| Green beans, corn, peas, okra, sweet potatoes | Pressure | Low-acid |
| Dried beans, soups, stocks | Pressure | Low-acid |
| Meat, poultry, fish | Pressure | Low-acid |
Tomatoes are the classic trap. They’re usually thought of as acid, but the NCHFP notes some varieties have a pH slightly above 4.6, so tested recipes add bottled lemon juice or citric acid to every jar. Figs are the same. Recipes that mix tomatoes with peppers, onions or other vegetables, like salsa or spaghetti sauce, only work in a boiling-water canner when a tested recipe has balanced the acid. Otherwise they belong in a pressure canner.
How the two canners differ
A boiling-water canner is a large, deep pot with a rack and a lid. Filled jars sit on the rack, covered by 1 to 2 inches of water, and timing starts once the water is at a full rolling boil. The NCHFP recommends it for acid foods because it’s faster: a pressure canner can process acid foods too, but takes longer from start to finish.
A pressure canner is a heavy pot with a locking lid, a vent and either a dial gauge or a weighted gauge that shows or controls the pressure. Steam builds up inside, which raises the temperature above boiling. The basic sequence from the NCHFP: heat until steam flows, vent for 10 minutes to push the air out, bring it up to pressure, start timing, then let it cool on its own until it’s fully depressurized. Never cool a canner with water.
A few points from the CDC and Extension worth knowing before you buy or use one:
- Size. The CDC recommends a pressure canner that holds at least four quart jars upright on the rack. Small pressure saucepans aren’t recommended for canning.
- Gauge accuracy. A dial gauge can drift. Have it checked every season; many county Extension offices do this, or ask the maker.
- Electric multicookers. Don’t can in them, even if the panel has a “canning” button. The CDC says electric multi-cooker appliances aren’t recommended for pressure canning.
Elevation changes the numbers
Water boils at a lower temperature the higher you go, so tested recipes add processing time (for boiling water) or pressure (for pressure canning) at higher elevations. NCHFP tables usually start adjusting above 1,000 feet. Most of Louisiana sits well below that, but check your own elevation and use the right column of the recipe every time.
Atmospheric steam canners
Steam canners use a few inches of water in a shallow base and a tall dome, and they heat up quickly. They aren’t pressure canners, and they’re for acid foods only. After research at the University of Wisconsin, the NCHFP now says a steam canner can be used with tested boiling-water recipes for acid foods, provided:
- the canner is fully vented and the steam reaches boiling temperature before timing starts,
- jars are preheated and filled hot,
- the total processing time, including any elevation adjustment, is 45 minutes or less, since the base can run dry,
- the canner is never opened during processing, and
- jars cool in still room air.
Methods to skip
The NCHFP lists several methods as not recommended because they don’t reliably prevent spoilage:
- Open-kettle canning (filling hot jars and just letting them seal)
- Processing jars in a conventional oven, microwave or dishwasher
- “Canning powders” in place of heat processing
- “Dry canning” vegetables without the liquid the recipe was tested with, or heating dry foods in jars in the oven
- Antique bail-and-glass-lid jars and zinc caps for canning
Old family recipes deserve care too. The University of Maryland Extension advises against recipes from before 1997, since processing guidance has changed. A family favorite can often be matched to a current tested recipe that keeps the flavor and adds a safe process.
Signs a jar isn’t safe
The NCHFP says never to taste food from a jar with an unsealed lid or any sign of spoilage. Before opening, check that the lid is still concave and tight, and look for streaks of dried food from the top of the jar, rising bubbles or unnatural color. When opening, watch for spurting liquid, an off smell or mold. Spoiled low-acid foods, including tomatoes, can show very little evidence, so the NCHFP says to treat any suspect jar of them as if it contains botulinum toxin and to follow its directions for safe disposal and clean-up.
Where to look next
Our Canning Supplies shelf keeps a researched shortlist of jars, lids, a water-bath kit and two pressure canners. Nothing there is linked yet. For recipes and step-by-step directions, go straight to the sources below.
Sources
- National Center for Home Food Preservation: Ensuring safe canned foods
- National Center for Home Food Preservation: How to use boiling water and pressure canners
- National Center for Home Food Preservation: Selecting the correct processing time
- National Center for Home Food Preservation: Equipment and methods not recommended
- National Center for Home Food Preservation: Identifying and handling spoiled canned food
- National Center for Home Food Preservation: Burning issue: using atmospheric steam canners
- USDA NIFA, Complete Guide to Home Canning, Agriculture Information Bulletin No. 539 (revised 2015), available through the NCHFP
- CDC: Home-canned foods and botulism
- University of Maryland Extension: Clostridium botulinum: a food safety risk to home food preservation (FS-1031)